
A Coriolis flow meter is one of the most accurate instruments in a process plant -- and one of the most misdiagnosed when it reads wrong. Most faults are process side, not meter side.
This guide covers the six most common faults with their root causes and step by step fixes, plus a diagnostic tool to narrow down the most likely cause for your specific symptom.
Before replacing a Coriolis meter, always diagnose the process conditions. Entrained gas, mechanical stress on the meter body, and external vibration from nearby pumps cause the majority of Coriolis measurement problems -- not meter failure.
How Coriolis Meters Fail: What Technicians Get Wrong
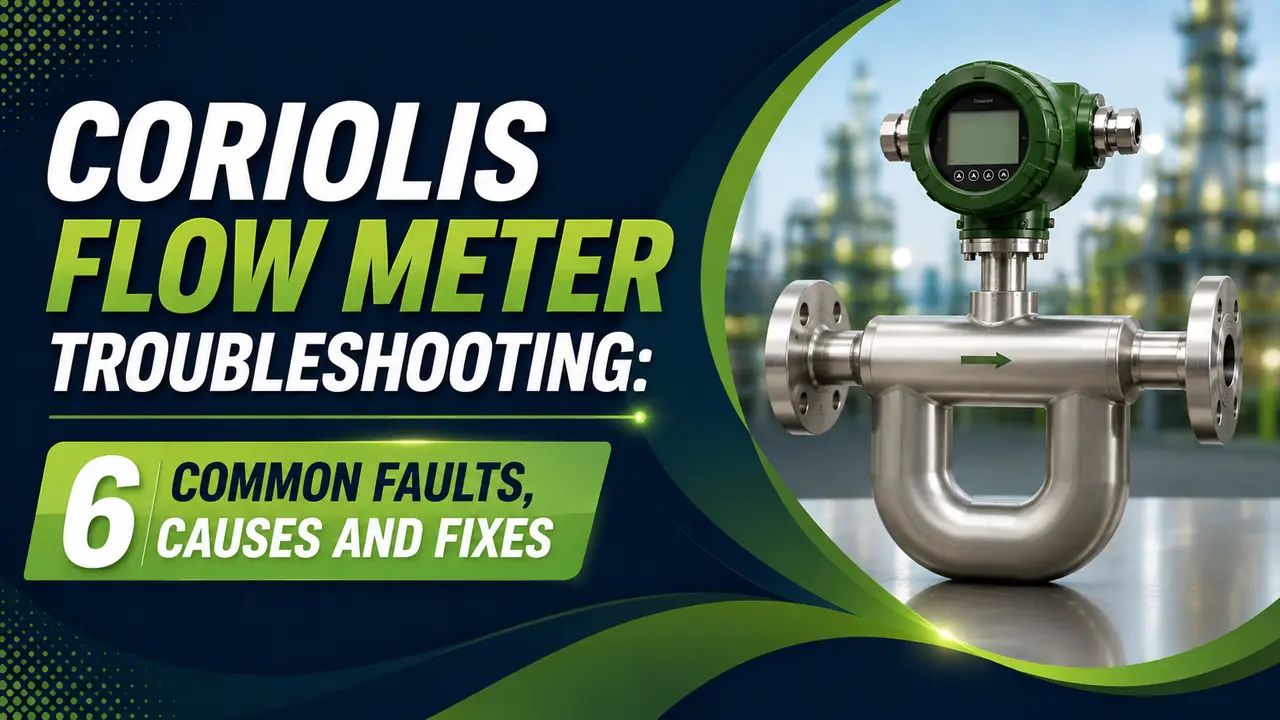
A Coriolis flow meter measures mass flow by detecting the phase shift between two sensor coils on a vibrating tube. The tube is driven at its resonant frequency.
Any change to the tube's effective mass or stiffness, from coating, gas entrainment, or external vibration, alters the measurement.
This is why a Coriolis meter reading wrong does not automatically mean the meter is faulty. It often means the process conditions have changed.
A useful starting point: compare the meter's current drive gain with its baseline value from commissioning.
Rising drive gain means the meter is working harder to maintain tube oscillation. It is a reliable early indicator of gas entrainment, fouling, or mechanical stress before the reading error becomes visible.
6 Common Coriolis Flow Meter Faults: Causes and Fixes
- Flow reading shows a small positive or negative value when the line is fully shut in
- Totaliser slowly accumulates even with all valves closed
- Reading fluctuates around a non zero value rather than settling to zero
- Meter was zeroed with fluid still moving -- even a trickle of leak by through an upstream valve invalidates the zero
- Mechanical stress on the meter body from pipe strain, thermal expansion, or missing supports -- stress shifts the sensor coil baseline
- Temperature change since the last zero was performed -- Coriolis tubes change stiffness with temperature
- Coating or deposits on the inner tube wall changing the tube's effective mass
- Shut in the line completely using an upstream block valve -- confirm zero leak by with a downstream pressure check
- zero the meter per the manufacturer's procedure with confirmed dead flow
- Check pipe supports and remove any mechanical loads on the meter body (flexible spool pieces either side are standard practice)
- If zero drift returns quickly, inspect for coating -- compare current tube resonant frequency against the factory baseline
- Flow reading spikes or oscillates erratically despite stable process conditions
- Density reading also unstable -- both varying together is a strong indicator of gas
- Drive gain climbing significantly above normal baseline
- Entrained gas or vapour in the liquid -- the most common cause. Gas changes tube mass asymmetrically, producing random phase shifts between the sensor coils
- Cavitation forming just downstream of a control valve or pump -- generates vapour slugs that pass through the meter tubes
- External mechanical vibration from a pump, compressor, or reciprocating engine running near the meter's drive frequency (typically 50 to 300 Hz)
- Process fluid flashing across the meter due to pressure drop and insufficient back pressure
- Check the density reading -- if density is low or erratic alongside the flow, entrained gas is confirmed. Investigate the upstream process for aeration or vapour pockets
- Install a back pressure valve downstream of the meter to maintain pressure above vapour pressure -- prevents flashing and cavitation
- Increase the meter's low flow cutoff and output damping as a temporary measure while investigating the gas source
- If vibration is suspected, check the meter transmitter's vibration diagnostic variable and compare the drive frequency against nearby rotating equipment RPM
- Meter transmitter reports a fault or drive alarm
- Output goes to failsafe value (typically 0 or last good reading)
- Drive gain at 100% -- meter unable to sustain tube oscillation
- Large gas slug passing through the tubes -- the tube filled with gas has far lower mass than liquid, making resonance impossible to maintain momentarily
- Tube fully or partially blocked by solids, wax, or frozen product -- tube cannot vibrate freely
- Supply voltage to the transmitter has dropped below operating range
- Sensor cable fault -- broken connection between sensor coil and transmitter removes the drive feedback
- If the stall is intermittent and correlates with batch changes or startup, the cause is gas slugs -- modify the startup sequence to purge gas before metering
- If the stall is persistent, check for blockage -- compare pressure drop across the meter against the clean baseline. A blocked meter shows higher than expected dP
- Verify supply voltage at the transmitter terminals (not at the panel)
- Check sensor cable continuity and insulation resistance -- a damaged cable is a common post maintenance finding
- Density reads 2 to 5% below the expected value for the known fluid
- Flow reading appears normal but mass flow calculation is affected because density is wrong
- Tube resonant frequency has shifted upward from the baseline
- Entrained micro bubbles that are too small to cause erratic output but change the effective fluid density continuously
- Tube wall coating has reduced the internal cross section, changing the ratio of fluid mass to tube mass
- Temperature compensation is using an incorrect process temperature -- the tube frequency is temperature dependent and the compensation must use the actual fluid temperature at the meter, not a remote temperature
- Verify process temperature at the meter matches the temperature input to the transmitter
- Check for micro aeration upstream -- flow through an open pipe end or a leaking pump seal can introduce micro bubbles without visible slugging
- Compare the tube resonant frequency (displayed in the transmitter diagnostics) against the factory calibration record -- a shift of more than 2 Hz indicates coating
- Mass flow reading 1 to 5% low compared to a reference meter or batch reconciliation
- Error is steady, not erratic -- suggesting a calibration or coating issue rather than gas
- Density reading may be slightly high (opposite of gas entrainment)
- Tube inner coating with a dense material (scale, polymer, wax) increases the tube's apparent mass and shifts the calibration factor
- Calibration factor (flow calibration factor, FCF) has drifted -- possible if the meter was recalibrated and the factor entered incorrectly
- Internal tube erosion has changed the tube geometry -- rare but possible with abrasive slurries at high velocity
- Verify the flow calibration factor (FCF) entered in the transmitter matches the calibration certificate
- Perform an online verification using a master meter or gravimetric reference if a shutdown is not possible
- Schedule a tube cleaning if coating is confirmed by frequency shift -- CIP (clean in place) with appropriate solvent for the deposit type
- Refer to the Coriolis meter uncertainty article for guidance on acceptable error bands before a full calibration is warranted
- Transmitter displays a vibration or crosstalk fault code
- The fault appears or worsens when a nearby pump or compressor is running
- Flow reading bias correlates with machinery speed changes
- Mechanical vibration from a nearby pump, compressor, or reciprocating engine transmitting through the pipework into the meter body
- Pipeline acoustic resonance at a frequency close to the meter's drive frequency -- even a small pipe vibration amplitude becomes significant when it coincides with the meter's sensor frequency
- Two Coriolis meters mounted close together with similar drive frequencies -- the vibration from one meter's tubes interferes with the sensors of the adjacent meter (crosstalk)
- Fit flexible spool pieces (rubber lined expansion joints) immediately upstream and downstream of the meter to break the vibration transmission path from the adjacent pipework
- Install vibration isolation mounts under any machinery within 3 metres of the meter
- If two meters are mounted in parallel headers, select meters with different drive frequencies or separate them with isolation spool pieces
- Check the pipework supports -- unsupported pipe runs of more than 1 to 2 metres near the meter act as vibration antennas
Coriolis Fault Diagnostic Tool
How to Re Zero a Coriolis Flow Meter Correctly
Incorrect zeroing is the single most common cause of Coriolis measurement error. The procedure is simple but must be followed exactly.
Coriolis vs Other Flow Meters: Troubleshooting Differences
| Fault Symptom | Coriolis Meter | Electromagnetic Meter | Differential Pressure Meter |
|---|---|---|---|
| Gas entrainment | Erratic output + erratic density. Drive gain rises. Most sensitive of all meter types to gas. | Reading drops -- gas reduces conductivity path. Less sensitive than Coriolis. | Reading appears high -- gas adds apparent differential pressure without proportional mass flow. |
| Coating / fouling | Tube frequency shifts. Density biases high. Mass flow reads low. Detectable from diagnostics before output error appears. | Electrode coating can cause signal noise or zero shift. Check electrode resistance. | Deposits on the tappings cause blocked impulse lines -- reading goes to maximum or zero. |
| Zero drift | Must zero with confirmed dead flow. Mechanical stress causes drift. | Zero usually stable. Check for electromagnetic interference from nearby equipment. | Blocked low pressure tap causes positive zero shift. Blocked high pressure tap causes negative shift. |
| External vibration | Very sensitive -- vibration near drive frequency causes reading error and faults. | Not sensitive to vibration. Electromagnetic principle is unaffected by mechanical vibration. | Piping vibration causes impulse line resonance, visible as output fluctuation. |
Watch: How Two Phase Flow (Entrained Gas) Affects a Coriolis Meter
Coriolis Flow Meter Troubleshooting Questions
External References
- Micro Motion Elite Coriolis Meter Diagnostics Guide -- Emerson
- Proline Promass Coriolis Flowmeter -- Endress and Hauser
What We Learn Today
- More than 80% of Coriolis faults are caused by process conditions (gas, coating, stress) not meter hardware failure
- Drive gain is the first diagnostic variable to check -- rising gain indicates gas entrainment, coating, or mechanical stress before the output error becomes visible
- Zero drift is almost always caused by zeroing with residual flow, mechanical stress on the meter body, or temperature change since the last zero
- Entrained gas causes erratic output AND erratic density simultaneously -- if both are unstable together, gas is confirmed
- Tube resonant frequency shift from the factory baseline is the reliable indicator of coating -- frequency rises as tube gains mass from deposits
- Never zero a Coriolis meter with any flow present -- even 0.1% of full scale flow invalidates the zero
- External vibration near the meter drive frequency causes reading error -- the fix is flexible spool pieces and proper pipe supports within 500 mm of the meter flanges