
An oversized or undersized control valve rarely shows up as an obvious mistake. It shows up as a loop that never quite settles.
This guide covers the basic requirements a control valve must meet and the sizing rules that keep it working the way it should for years.
A control valve that fits the process on paper still needs to fit it in practice. These rules bridge that gap.
We will cover the core components, the two functional categories, opening position guidelines, pressure drop and pipe sizing rules, material and velocity limits, and the control loop habits that prevent avoidable failures.
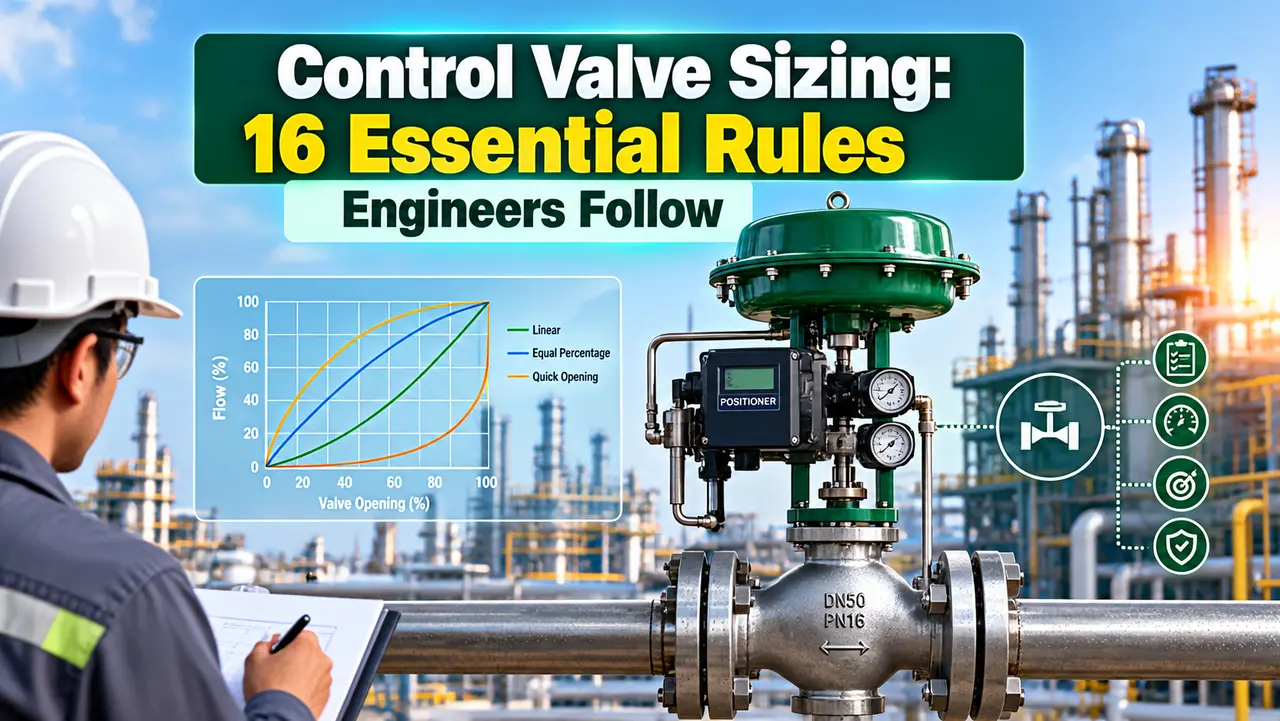
What Is a Control Valve?
A control valve is a power operated device that modulates flow between a minimal opening and full capacity, responding continuously to a control signal.
Three parts do the actual work. The valve plug moves relative to the ports in the body to change how much flow passes through.
The valve stem connects that plug to the actuator above it. The actuator, whether pneumatic or electric, translates the incoming signal into stem movement.
For the full breakdown of these components, see our basic parts of a control valve guide.
Getting control valve sizing right matters more than it might seem from the outside. A valve sized correctly gives the loop a wide, usable throttling range.
That range translates directly into a predictable response to every setpoint change, which is the entire point of putting a control valve in the loop in the first place.
An undersized valve chokes flow and can never reach the process demand no matter how far it opens.
An oversized one spends its life barely cracked open, where small position changes swing flow wildly and the loop hunts instead of settling.
2 Functional Types of Control Valves
Every control valve falls into one of two functional categories before you even consider its body style or trim.
Most sizing discussions, including this one, concern the flow regulating type, since it is the one that actually needs a calculated size rather than just a line size match.
Our control valve body types guide covers the physical styles available once you know which function you need.
7 Basic Functional Requirements of a Control Valve
Before sizing even enters the picture, a valve has to satisfy these seven requirements just to be considered for the service.
Opening Position Guidelines
A properly sized valve should spend most of its life somewhere in the middle of its travel, not pinned near either end.
A valve that sits at 95 percent open during normal operation has almost no room left to respond to a demand increase.
One that normally sits at 15 percent open is oversized and will hunt for a stable position instead of settling into one.
Our flow characteristics guide explains why the relationship between travel and flow is rarely a straight line, and why that curve shape matters just as much as the raw opening percentage.
Pressure Drop and Pipe Sizing Rules
These four rules govern how the valve size relates to the pressure available and the pipe it sits in.
Connections, Materials and Velocity Limits
These five rules cover how the valve connects, what it is made of, and how fast fluid should move through it.
Getting the material match wrong is one of the more expensive mistakes on this list, since it usually is not discovered until the trim has already eroded.
Our control valve outlet velocity guide goes deeper into the mach number limit for gas service and why it matters more as line pressure drops.
Control Loop Practices That Prevent Sizing Mistakes
The last four rules are less about the valve itself and more about how it sits inside the wider control loop.
Common Control Valve Sizing Mistakes to Avoid
Most control valve sizing complaints trace back to one of these five habits rather than a flaw in the rules themselves.
A Quick Sizing Walkthrough
Here is how these rules come together on a simple liquid service example.
Total system pressure drop: 30 psi
Target valve pressure drop: 10 psi, close to one third
Selected valve size: 3 inch, above the half line size minimum
Normal opening at design flow: 65 percent, inside the 60 to 70 percent target
Every number in that walkthrough traces back to one of the sixteen rules above.
None of them are exotic, which is exactly why they get skipped when a project is in a hurry.
That same 3 inch valve also needs enough rangeability to still control smoothly at the lowest flow the process will ever ask for.
Sizing for the design point alone, and ignoring the low end of the range, is how a valve that looks correct on paper still hunts in the field.
On Off vs Flow Regulating: Quick Comparison
| Factor | On Off Valve | Flow Regulating Valve |
|---|---|---|
| Useful throttling range | None | Full travel range |
| Sizing calculation needed | Match line size | Calculated to the 16 rules above |
| Typical actuator response | Fast, full stroke | Modulating, positioner assisted |
| Common use case | Isolation, emergency shutdown | Continuous process control |
Our control valve selection key factors guide and flow coefficient guide are useful next reads once the basic sizing rules above are settled.
Watch: Control Valve Sizing Made Simple
Control Valve Sizing Questions Engineers Ask
Related Articles on This Site
- Control Valve Selection: Key Factors
- Control Valve Flow Coefficient
- Control Valve Cavitation and Flashing
- Control Valve Outlet Velocity
- Control Valve Positioner Working
External References
What We Learn Today
- Control valve sizing starts only after a valve meets seven basic functional requirements.
- Sixteen sizing rules cover opening position, pressure drop, pipe matching, materials, velocity and loop practice.
- Most valve problems blamed on sizing actually trace back to where pressure is sensed or how the loop is set up.