
A control valve that sizes and controls perfectly on paper can still tear itself apart within months if the fluid leaving it accelerates past a velocity the downstream piping and trim were never built to handle.
Control Valve Output Velocity is not just a sizing footnote, it is the variable behind most erosion, noise, and cavitation complaints that show up long after commissioning.
Control Valve Output Velocity drives three real risks, erosion, noise and vibration, and cavitation damage, and every one of them can be controlled with the right trim, sizing, and downstream piping choices.
If you want the fundamentals first, definition, calculation, and the general low and high velocity symptoms, our Control Valve Outlet Velocity article covers that ground in detail.
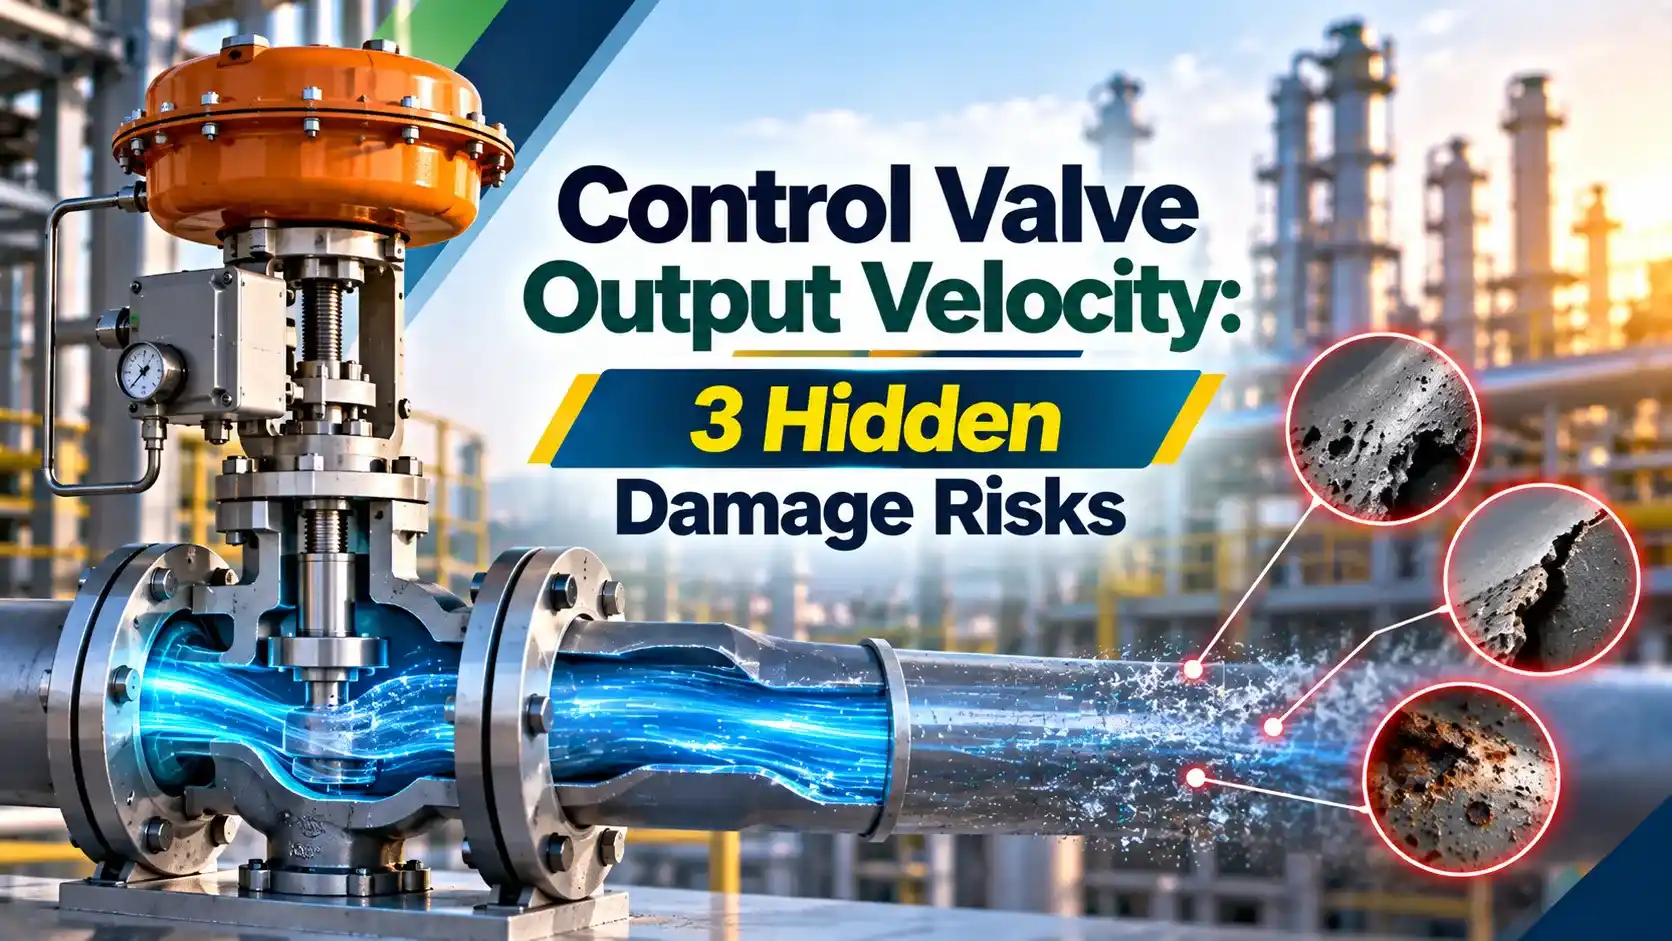
What Control Valve Output Velocity Really Determines
Control Valve Output Velocity is the speed at which fluid leaves the valve trim and enters the downstream pipe, and it behaves very differently from the average velocity flowing through the rest of the line.
Because the fluid accelerates sharply as it passes the restricted opening inside the valve, this exit velocity can run many times higher than the velocity anywhere else in the piping system.
That single fact is exactly why output velocity deserves its own dedicated check during design, rather than being assumed safe just because the connecting line itself happens to be sized correctly.
3 Ways High Control Valve Output Velocity Causes Damage
None of these three risks require exotic conditions to appear, an oversized valve or an undersized downstream line is often all it takes to push velocity into damaging territory.
Erosion Velocity Guidelines Worth Knowing
These figures trace back to guidance in the style of API RP 14E, an empirical rule of thumb rather than a rigorous mechanistic model.
Treat each number as a starting point to validate against the actual fluid, solids content, and pipe material, never as a fixed universal law that applies identically to every service.
Erosion wear tends to scale with roughly the square of velocity, meaning a fluid moving twice as fast can wear trim and piping four to eight times faster, which is exactly why a small oversizing mistake produces such an outsized maintenance problem.
Noise and Acoustic Induced Vibration Thresholds
| Condition | What Typically Happens |
|---|---|
| Around Mach 0.3 at the vena contracta | Turbulent mixing noise becomes significant enough to notice |
| Mach 1.0 at the vena contracta | Flow chokes, and further pressure drop no longer increases flow rate |
| Roughly 30 meters per second in gas piping | Commonly used screening threshold for acoustic induced vibration risk |
| Around 85 dBA | Typical regulatory action level that triggers formal noise control |
Noise generation is driven primarily by Mach number rather than raw velocity alone, which is why the same output velocity can be perfectly fine in one gas service and genuinely damaging in another.
Anti Cavitation and Low Noise Trim Strategies
Downstream Piping: Expander or No Expander
Downstream Expander Fitted
Drops velocity back toward line appropriate limits shortly after the vena contracta acceleration, protecting the pipe run that follows.
No Expander, Line Size Throughout
Simple and cheap to install, but leaves the full length of downstream piping exposed to the valve's peak exit velocity.
Calculating Output Velocity in Practice
For a liquid, output velocity is simply the volumetric flow rate divided by the cross sectional area of the pipe at the valve outlet, a straightforward figure once units are handled consistently.
Why Low Velocity Is Not Automatically Safe
Avoiding high velocity by oversizing everything feels like a safe default, but a valve running mostly near closed brings its own set of problems.
A Familiar Pattern: Debottlenecking Without Rechecking Velocity
Building a simple rule into the project change process, recalculate valve exit velocity whenever sustained flow rises by a meaningful margin, catches this pattern before it turns into an unplanned outage.
That rule costs almost nothing to enforce and only needs to live in the site's change management checklist for every future throughput increase project to matter.
Keeping Control Valve Output Velocity Inside Safe Limits
A short design review focused specifically on exit velocity, run before piping is finalized, catches a large share of the erosion and noise problems that would otherwise surface only after months of operation.
Building a Monitoring Habit Around Valve Wear
A vague sense that a valve is wearing faster than expected only becomes useful once it is turned into an actual documented trend rather than left as an impression.
Four Fixes at a Glance
Watch: Fisher Cavitrol Hex Trim Eliminates Cavitation
Control Valve Output Velocity Questions Engineers Ask
Related Articles on This Site
- Control Valve Outlet Velocity
- NPSH and Cavitation Explained
- Control Valve Cavitation and Flashing
- Choked Flow in Control Valves
- Control Valve Flow Coefficient
External References
What We Learn Today
- Control Valve Output Velocity drives three real risks: erosion, noise and acoustic vibration, and cavitation damage.
- Erosion guidelines like API RP 14E are empirical starting points, always worth validating against the actual fluid and pipe material.
- Multi stage anti cavitation trim and a correctly sized downstream expander are the two most effective practical fixes.