Table of Contents
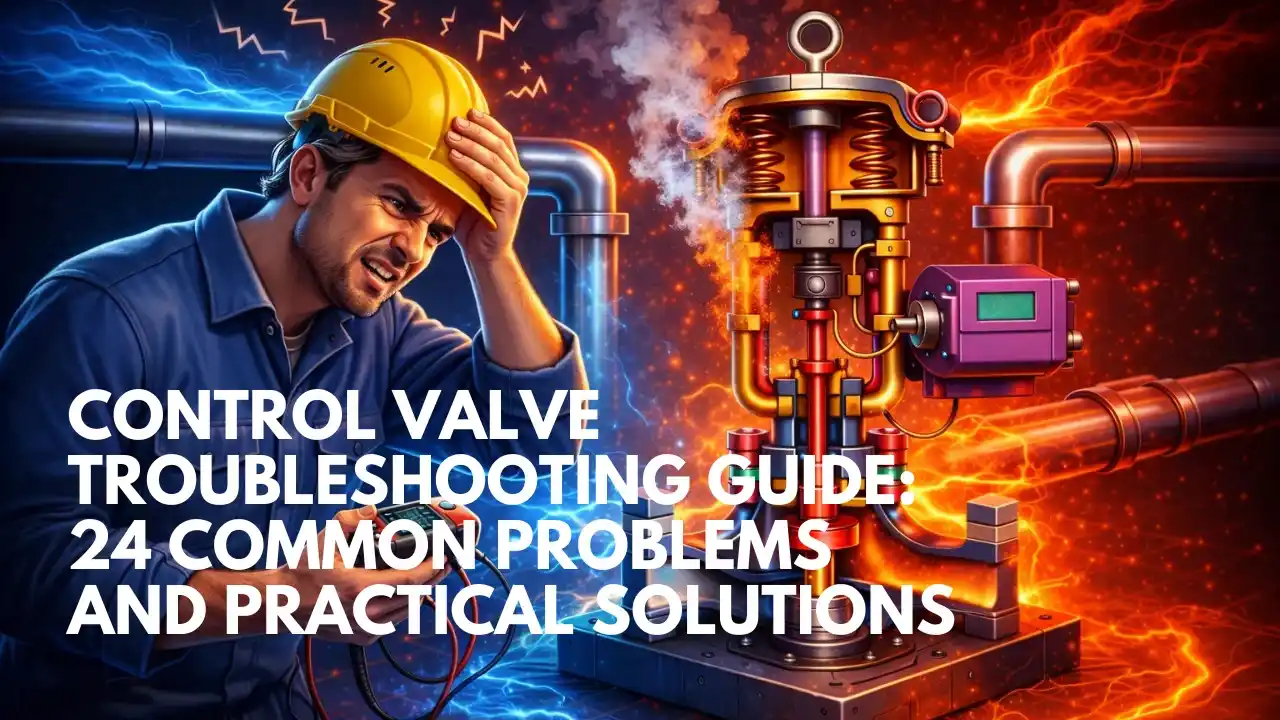
ToggleControl Valve Troubleshooting Guide: 24 Common Problems and Practical Solutions
In any industrial process plant, the control valve is one of the most important instruments used to regulate flow, pressure, level, and temperature. It acts as the final control element of the process control loop.
When a control valve fails to operate correctly, the entire process can become unstable. In some cases, it can even lead to process shutdown or safety hazards.
According to the International Society of Automation, control valves are responsible for most final process adjustments in automated plants. You can learn more about their importance in process automation in this article.
Because control valves operate continuously in harsh environments, technicians often face issues such as air supply failures, actuator problems, calibration errors, or positioner faults.
This article explains 24 practical troubleshooting steps that can help instrumentation technicians quickly diagnose and fix common control valve problems.
Understanding How a Control Valve Works
Before troubleshooting a valve problem, it is important to understand its working principle.
A control valve receives a signal from the controller (PLC or DCS) and adjusts the valve position accordingly. In most systems, the signal is 4–20 mA, which is interpreted by the valve positioner to move the actuator.
A simple explanation of control valve working principles can be found here.
Because the valve system consists of multiple components such as actuators, positioners, instrument air lines, tubing, and feedback systems, the fault may originate from any of these components.
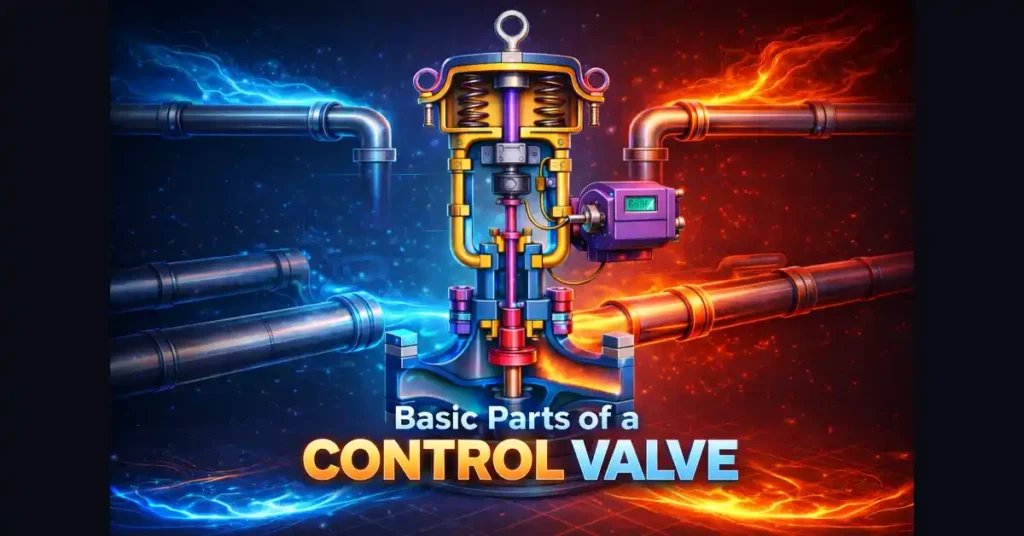
You can also check our article: Basic Parts of Control Valves from below.
Step-by-Step Control-Valve Troubleshooting
1. Perform a Visual Inspection
The first troubleshooting step is to visually inspect the control valve and its accessories.
Check for air leakage, damaged tubing, loose fittings, or any physical damage. If any issue is observed, correct it immediately before continuing further troubleshooting.
2. Check the Instrument Air Supply
Verify the air supply from the Air Filter Regulator (AFR) to the valve positioner or solenoid valve.
If no air supply is present, check the isolation valve in the instrument air header. Open it if it is closed.
You can learn more about instrument air system maintenance from this guide.
3. Verify the AFR Pressure Setting
Check the pressure set on the air filter regulator.
The pressure should match the value mentioned in the control valve datasheet.
4. Adjust the Air Pressure Properly
If the air supply pressure is lower than recommended, the valve movement may become sluggish.
If the pressure is higher than recommended, it can damage the actuator diaphragm. Always maintain the recommended pressure setting.
5. Send an Open or Close Command from the Control System
Operate the valve from the PLC or DCS control system.
If the valve does not move, check whether supply voltage is reaching the valve positioner or solenoid valve.
6. Inspect the Fuse in the Marshalling Cabinet
Check the fuse condition inside the marshalling cabinet.
If the fuse is blown, replace it with the same rating fuse to avoid circuit damage.
7. Check Cable Healthiness
Measure the cable resistance using a multimeter.
If a cable pair is damaged, replace it with a healthy spare pair. This will restore supply voltage to the control valve.
8. Perform a Valve Stroke Test
Give a command from 0% to 100% from the control system and observe the valve movement.
Also verify the valve position feedback on the control system graphics.
9. Compare Valve Command and Feedback
If the valve moves correctly but feedback is incorrect, the feedback configuration may need adjustment.
10. Understand the Two Types of Valve Feedback
Most control valves use one of the following feedback designs.
Open and close limit feedback
Full analog feedback (0–100%)
If analog feedback is incorrect, performing a calibration normally solves the problem.
11. Check PLC or DCS Interlocks
Sometimes the valve does not move because the control logic blocks the command.
Verify that there are no interlocks or permissive conditions preventing valve operation.
12. Perform Control Valve Calibration
If valve stroke movement is incorrect, calibration should be performed.
A detailed explanation of calibration procedures can be found here:
13. Measure the mA Signal to the Positioner
Check the 4–20 mA signal reaching the valve positioner.
If the signal is incorrect, the issue may be with the PLC or DCS analog output channel.
14. Replace the Valve Positioner if Required
If the valve positioner appears faulty, replace it with a spare unit and recalibrate the valve.
After calibration, verify the valve stroke again.
15. Inspect Control Valve Accessories
Check the following accessories connected to the valve.
Quick exhaust valve
Air volume booster
Trip valve
Vent port
Ensure there is no blockage or damage in these accessories.
16. Repair or Replace Damaged Accessories
If any accessory is defective, replace it with a spare component.
The damaged component can later be repaired in the workshop.
17. Apply External Air to the Actuator
Disconnect the tubing and apply external air pressure directly to the actuator.
This helps identify whether the problem lies in the actuator or in the control system.
18. Check Actuator Passing
Verify whether the actuator diaphragm or seals are leaking.
If air passing is observed, the actuator should be overhauled.
19. Apply Bench Set Pressure
Apply air pressure according to the bench set value mentioned on the valve nameplate.
The valve movement should be smooth during this test.
20. Verify the Fail Action
Confirm the fail-safe action of the control valve.
Control valves are normally designed as:
Fail Open
Fail Closed
Fail Last Position
More details about fail-safe valve design can be found here.
21. Check for Sticking Movement
If the valve movement is slow or stuck, decouple the actuator from the valve body in rotary valves.
22. Inspect the Valve Body
If the actuator works properly after decoupling, the problem likely lies in the valve body.
The valve body should be inspected and serviced.
23. Drop the Control Valve (Linear Type)
For linear control valves, the valve must be removed from the pipeline for inspection.
Before removal, always make proper alignment markings to ensure correct reinstallation.
24. Reinstall and Perform Final Stroke Testing
After overhauling, reinstall the valve and perform a complete stroke test again.
Confirm that command, movement, and feedback are synchronized.
Frequently Asked Questions (FAQs)
1. What are the most common control valve problems in industrial plants?
The most common control valve problems include air supply failure, valve positioner malfunction, actuator diaphragm leakage, incorrect calibration, signal wiring faults, and blockage in valve accessories. Regular inspection and proper maintenance can prevent many of these issues.
2. How do you start control valve troubleshooting?
Control valve troubleshooting should always begin with a visual inspection. Check for air leaks, damaged tubing, loose fittings, and proper instrument air supply. After that, verify the control signal, air pressure settings, and valve movement through a stroke test.
3. Why is my control valve not responding to the PLC or DCS command?
If a control valve does not respond to a PLC or DCS command, the problem could be due to missing power supply, blown fuse, faulty cable connection, or an interlock condition in the control logic. Checking the signal voltage and control system status can help identify the issue.
4. What is a valve stroke test?
A valve stroke test is a diagnostic test where the control valve is commanded to move from 0% to 100% position while monitoring its movement and feedback signal. This test helps verify that the actuator, positioner, and control signals are functioning properly.
5. Why does a control valve move slowly?
Slow valve movement is usually caused by low instrument air pressure, clogged tubing, faulty positioner calibration, or actuator problems. Ensuring correct air pressure and performing valve calibration often resolves this issue.
6. How often should control valves be calibrated?
Control valves should typically be calibrated during scheduled plant maintenance or shutdown periods. However, if inaccurate valve feedback or unstable process control is observed, calibration should be performed immediately.
7. What is the role of a valve positioner in control valve troubleshooting?
The valve positioner ensures that the control valve reaches the exact position corresponding to the control signal. If the valve positioner fails or becomes miscalibrated, the valve may not respond correctly to commands from the control system.
8. Why is instrument air important for control valves?
Instrument air provides the pneumatic force required to move the actuator. If instrument air pressure is unstable or contaminated with moisture or oil, the control valve may operate improperly.
What we lean today?
Control valve failures are often caused by small issues such as air supply problems, calibration errors, signal faults, or accessory blockages.
By following a systematic troubleshooting approach, instrumentation technicians can quickly identify the root cause and restore normal valve operation.
Regular inspection and preventive maintenance of control valves will ensure stable process control, improved safety, and reliable plant performance.


I hope you like above blog. There is no cost associated in sharing the article in your social media. Thanks for Reading !! Happy Learning